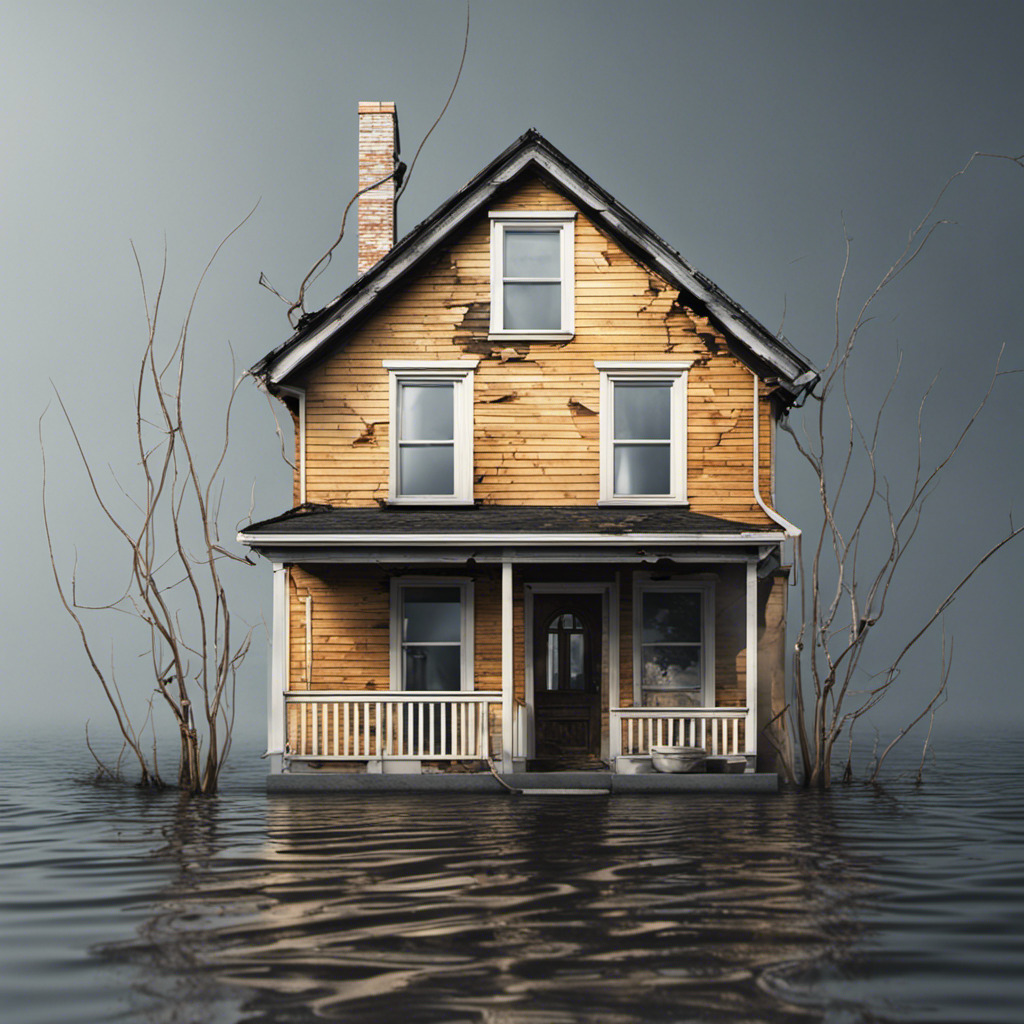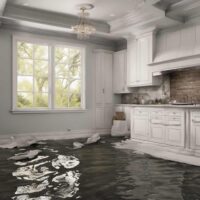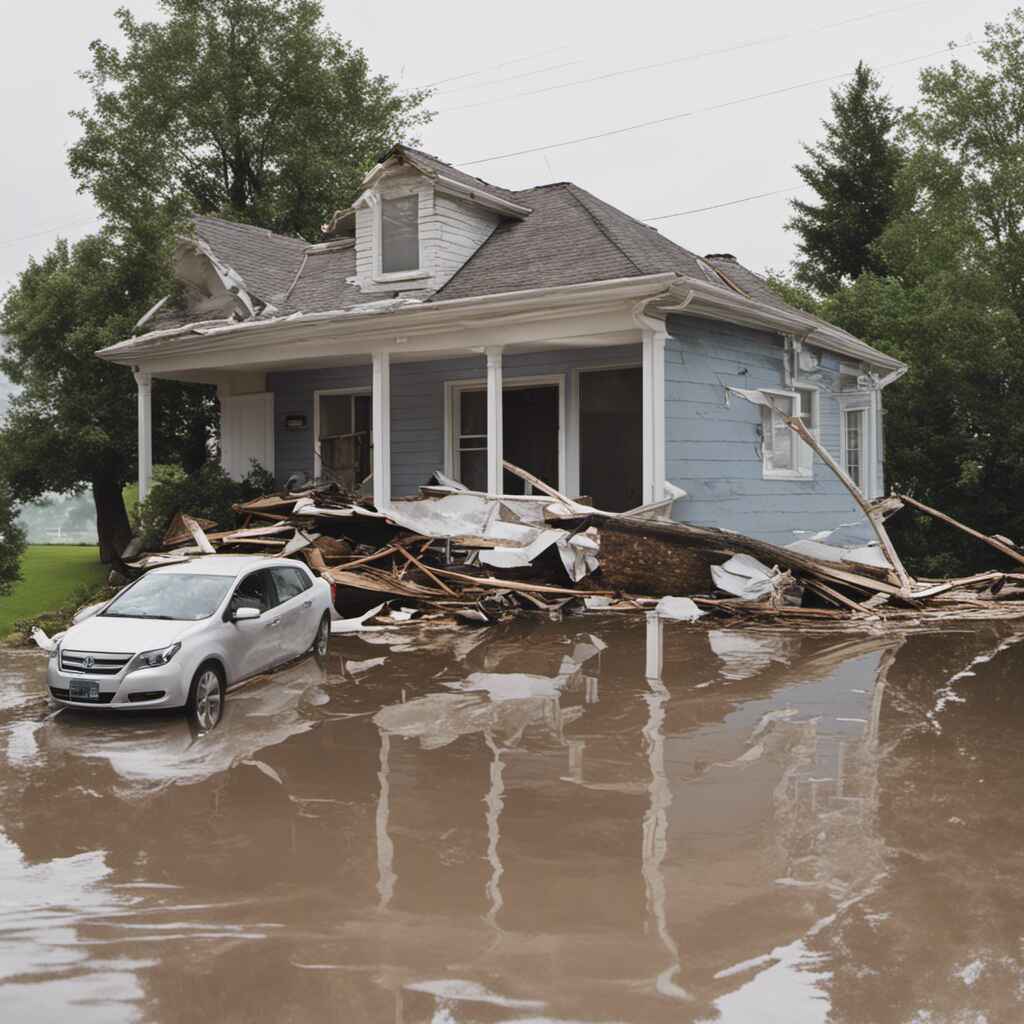
Water damage can be a devastating and costly issue for homeowners and businesses alike. Whether it’s the result of a burst pipe, a flooded basement, or a natural disaster, water damage should be promptly addressed to minimize further loss and prevent potential health concerns.
In this detailed water damage restoration guide, we will provide you with a comprehensive step-by-step approach to effectively restore your property and mitigate the damage.
Step 1: Safety First
Before beginning the restoration process, it is crucial to prioritize safety. Water damage can create hazardous conditions such as electrical hazards and slip and fall risks. Here are some key safety measures to consider:
i. Evaluate the safety of the area and determine if it is safe to enter.
ii. If there is standing water, ensure electricity is turned off to prevent electrocution.
iii. Use protective gear, including gloves, boots, and masks, to avoid exposure to contaminated water or mold.
iv. Be cautious of structural damage and avoid areas that may collapse or cause injury.
Step 2: Assessing the Damage
Once the area is deemed safe to enter, the next step is to assess the extent of the damage. This assessment will help determine the appropriate restoration actions and provide important information for insurance claims. Here’s what to consider during the assessment:
i. Identify the source of the water damage and address it immediately to prevent further issues.
ii. Take pictures or videos of the damage for documentation purposes.
iii. Categorize the water damage based on its source and level of contamination. Water damage is typically classified into three categories:
a. Category 1: Clean water from sources like broken pipes or sink overflows.
b. Category 2: Grey water containing significant levels of contaminants like dishwater or washing machine overflow.
c. Category 3: Blackwater, highly contaminated water from sewage backups or natural disasters.
iv. Determine the affected areas and items. Establish the scope of damage, including walls, floors, furniture, electronics, and personal belongings.
Step 3: Removing Standing Water
Once the assessment is complete, it’s time to remove the standing water from the affected area. Depending on the severity of the water damage, you may need professional assistance and specialized equipment. Here’s how to approach water removal:
i. Utilize pumps, wet vacuums, and dehumidifiers to eliminate standing water efficiently.
ii. Ensure proper disposal of water to prevent contamination and further environmental damage.
iii. Dry out the affected area as quickly as possible to inhibit mold growth and secondary damages. Use fans, dehumidifiers, and open windows for optimal ventilation.
Step 4: Cleaning and Disinfecting
After the water removal stage, it is essential to thoroughly clean and disinfect the affected areas and items. This step is crucial, especially for Category 2 and Category 3 water damage, where the risk of contaminants and pathogens is high. Follow these guidelines for effective cleaning and disinfection:
i. Dispose of any severely damaged items that cannot be salvaged, such as soaked carpets or furniture.
ii. Use appropriate cleaning agents or disinfectants to sanitize the affected surfaces, including walls, floors, and furniture. Follow manufacturer instructions for safe and effective use.
iii. Clean and disinfect HVAC systems, air ducts, and ventilation to prevent the spread of contaminants throughout the property.
iv. Launder or dry clean affected clothing, drapes, and linens. If necessary, enlist professional services for specialized cleaning.
Step 5: Restoring and Repairing
Once the affected areas are thoroughly cleaned and disinfected, it’s time to restore and repair any damages. Depending on the severity of the water damage, you may need professional assistance for complex repairs. Consider the following steps during the restoration process:
i. Repair or replace damaged walls, floors, and insulation. Ensure proper drying and dehumidification before restoration to prevent future mold growth.
ii. Inspect electrical systems for potential damages and hazards. Consult a licensed electrician for repairs or replacements.
iii. Repair or replace damaged plumbing systems and fixtures. Evaluate potential improvements to prevent future water damage.
iv. Evaluate and restore any damaged furniture or belongings. Salvage and restore items whenever possible, but discard anything that poses health or safety risks.
Step 6: Preventing Future Water Damage
After completing the restoration process, it is crucial to take preventative measures to avoid future water damage. Here are some tips to protect your property from potential water-related issues:
i. Regularly inspect and maintain plumbing systems, including pipes, valves, and appliances. Fix any leaks or issues promptly.
ii. Install a sump pump and consider a backup generator for protection against basement flooding.
iii. Clear gutters and downspouts regularly to prevent water buildup and potential water intrusion.
iv. Keep an eye on the water pressure in your home and monitor for any sudden changes, which could indicate a leak or burst pipe.
Conclusion
Water damage restoration can be a complex and challenging process, but with a step-by-step approach, it becomes more manageable and effective. Prioritizing safety, assessing the damage, removing standing water, cleaning and disinfecting, restoring and repairing, and preventing future water damage are key steps to successfully restore your property. By following this detailed water damage restoration guide, you can minimize further loss, prevent health concerns, and ensure a safe and habitable space for yourself and others. Remember, in severe cases, it is always wise to consult with professionals who specialize in water damage restoration for optimal results.
