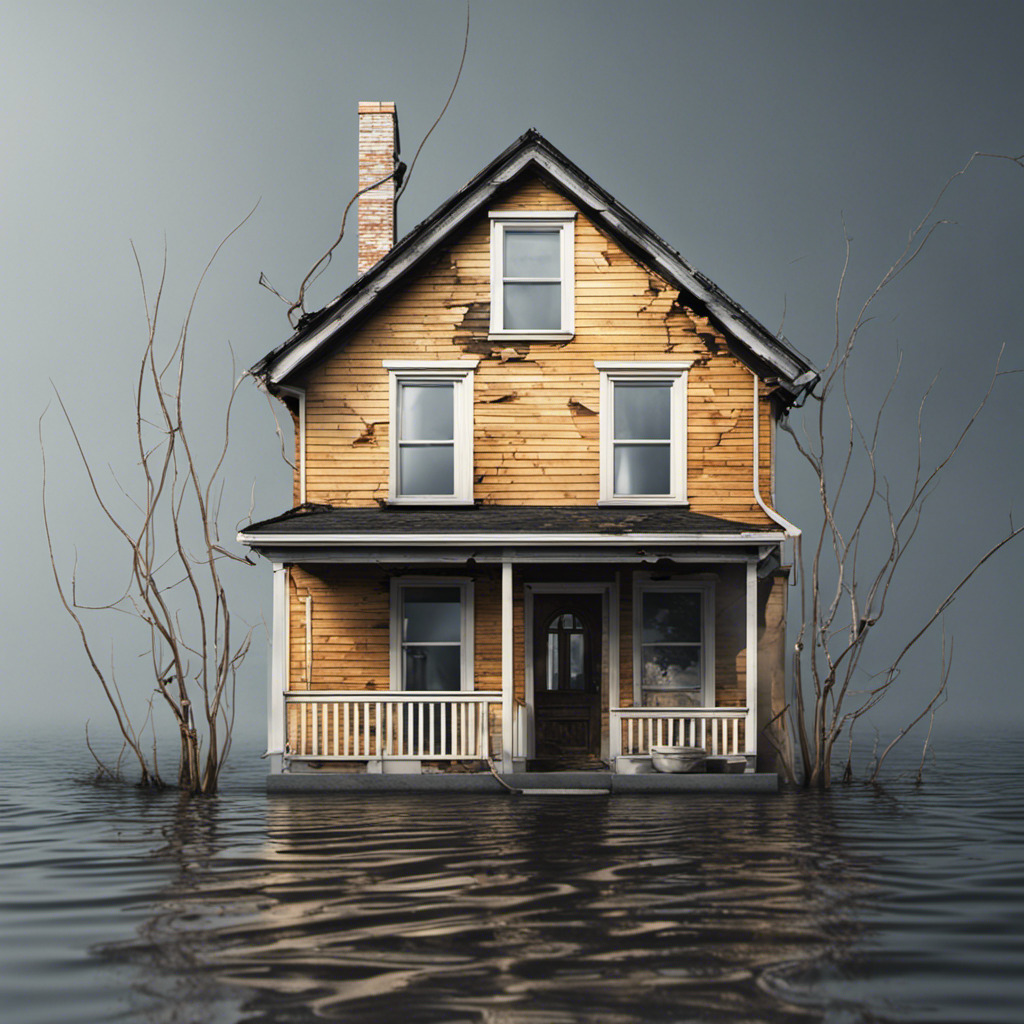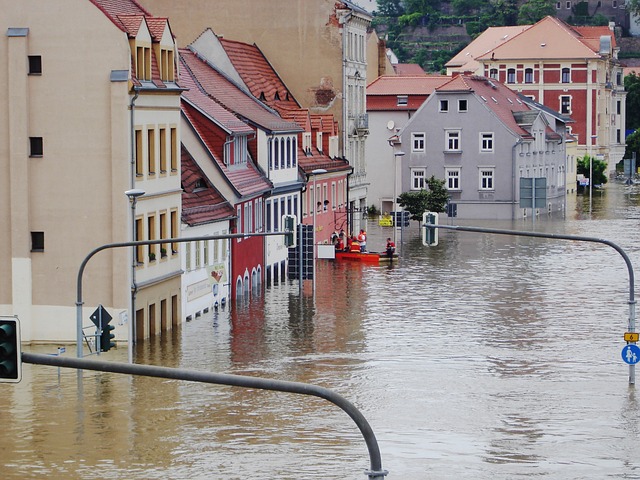
Water damage can be a devastating and overwhelming experience for homeowners. Whether it’s caused by a burst pipe, flooding, or a leaky roof, the consequences can be severe, leading to structural damage, mold growth, and potential health hazards. In such situations, a prompt and effective water damage restoration process is crucial to minimize the long-term impact on your property and ensure the safety of its occupants.
This extensive guide will cover every facet of the restoration process, from understanding the various types of water damage to putting restoration techniques and preventive measures into practice. Whether you are a professional in the restoration industry or a homeowner dealing with the aftermath of a water-related disaster, this guide aims to arm you with the knowledge and resources needed to navigate the complexities of water damage restoration. As you read through this guide, you will gain valuable insights and practical steps to take when faced with this difficult situation.
1. Initial Assessment
1.1 Understanding the Source of Water Damage
Before embarking on the restoration journey, it is essential to identify and address the source of the water damage. Different sources, such as clean water from a burst pipe, grey water from appliances, or contaminated water from floods, require specific approaches. Understanding the source helps in assessing the extent of the damage and formulating an effective restoration plan.
1.2 Safety First: Assessing Structural Integrity
Safety should always be the top priority. Thoroughly assess the structural integrity of the affected area before entering. Check for any signs of compromised stability, electrical hazards, or potential dangers. If there’s any doubt about the safety of the structure, it is crucial to consult with professionals before proceeding with restoration efforts.
1.3 Documenting the Damage
Documenting the damage is a crucial step for insurance claims and tracking the progress of restoration. Take detailed photographs and videos of the affected areas before starting any cleanup. This documentation will serve as evidence for insurance purposes and help in assessing the success of the restoration process.
1.4 Creating an Inventory of Damaged Items
Compile a detailed inventory of damaged items within the property. This includes furniture, electronics, personal belongings, and structural elements. Categorize items based on their level of damage, making it easier to prioritize restoration efforts and streamline the claims process with insurance companies.
1.5 Assessing Mold Risk
Water damage often creates favorable conditions for mold growth. Assess the risk of mold development in the affected areas. Look for visible signs of mold, such as discoloration and musty odors. Addressing mold issues promptly is crucial to prevent further damage and potential health hazards.
2. Water Extraction and Drying
2.1 Removing Standing Water
The first step in the restoration process is to remove any standing water from the affected area. Depending on the severity of the water damage, this may involve using pumps, wet vacuums, or other water extraction tools. Swift water removal is essential to prevent further damage and mold growth.
2.2 Drying Out the Property
Once standing water is removed, the focus shifts to thorough drying. Employ industrial-grade dehumidifiers and air movers to extract moisture from the air and surfaces. Proper drying is crucial to prevent secondary damage and inhibit mold growth. Monitor humidity levels regularly to ensure effective drying.
2.3 Salvaging and Cleaning Personal Belongings
Personal belongings affected by water damage should be carefully assessed for salvageability. Items that can be restored should undergo professional cleaning and disinfection processes. Delicate items may require specialized care. Dispose of irreparable items responsibly, following local regulations for waste disposal.
2.4 Addressing Water in Hidden Spaces
Water can seep into hidden spaces, such as wall cavities and subfloors, leading to unseen damage. Use moisture detection tools to identify hidden pockets of water. If necessary, remove sections of drywall or flooring to access and address the hidden water, preventing long-term issues like structural damage and mold growth.
2.5 Monitoring Progress
Regularly monitor the drying progress using moisture meters and other relevant tools. Adjust the drying equipment and strategies as needed based on ongoing assessments. Ensure that all affected areas reach the desired levels of dryness before proceeding to the next phase of restoration.
3. Mold Remediation
3.1 Conducting a Mold Assessment
After water extraction and drying, conduct a thorough mold assessment. Identify areas with visible mold growth and assess the extent of contamination. Additionally, perform air quality tests to detect mold spores that may be present but not visible. This assessment guides the mold remediation process.
3.2 Developing a Mold Remediation Plan
Based on the mold assessment, create a detailed mold remediation plan to prevent its growth. This plan should outline the scope of work, containment measures, remediation techniques, and post-remediation testing. Following industry guidelines and standards is essential to ensure effective and safe mold removal.
3.3 Containment and Prevention of Cross-Contamination
During mold remediation services, implement containment measures to prevent the spread of mold spores to uncontaminated areas. Use physical barriers, negative air pressure systems, and HEPA filters to contain and filter airborne mold particles. This step is critical to avoid cross-contamination and protect unaffected parts of the property.
3.4 Safe Removal and Disposal of Mold-Infested Materials
Carefully remove and dispose of materials that cannot be salvaged due to extensive mold contamination. This may include drywall, insulation, and flooring. Follow local regulations for proper disposal to prevent environmental harm. Ensure that the removal process is performed safely and efficiently.
3.5 Cleaning and Disinfecting Affected Surfaces
After removing mold-infested materials, thoroughly clean and disinfect affected surfaces. Use appropriate cleaning agents and antimicrobial solutions to eliminate any remaining mold spores. This step is crucial for preventing mold recurrence and ensuring a safe, healthy environment for occupants.
4. Structural Repairs
4.1 Assessing Structural Damage
Once the property is thoroughly dried and free of mold, assess the extent of structural damage caused by water. Inspect walls, ceilings, floors, and the foundation for any signs of weakening or deterioration. Engage professionals, such as structural engineers, to ensure a comprehensive evaluation.
4.2 Repairing or Replacing Damaged Structural Elements
Address structural damage promptly by repairing or replacing compromised elements. This may involve patching drywall, reinforcing weakened structures, or replacing flooring and subflooring. Prioritize repairs based on the severity of the damage to restore the property’s structural integrity.
4.3 Roof Repairs and Leak Prevention
Inspect the roof for any damage that may have contributed to water intrusion. Perform necessary repairs, such as fixing leaks and replacing damaged shingles. Investing in preventative measures, such as regular roof maintenance, can help safeguard against future water damage.
4.4 Plumbing and Electrical System Inspection
Conduct a thorough inspection of plumbing and electrical systems to identify and address any issues caused by water damage. Repair or replace damaged pipes, wiring, and fixtures. Ensure that all repairs comply with local building codes and safety standards.
4.5 Reinforcing Vulnerable Areas
Identify and reinforce vulnerable areas that may be prone to future water damage. This proactive approach involves implementing protective measures, such as waterproofing basements, installing sump pumps, and reinforcing sealants around windows and doors. Taking these precautions helps prevent future water-related issues.
5. Restoring Indoor Spaces
5.1 Cleaning and Sanitizing Surfaces
Once structural repairs are complete, focus on cleaning and sanitizing all indoor surfaces. Use appropriate cleaning agents to remove any remaining contaminants and ensure a healthy indoor environment. Pay special attention to areas that were directly affected by water damage.
5.2 Restoring Flooring and Carpets
Evaluate the condition of flooring and carpets to determine whether restoration or replacement is necessary. Clean and disinfect salvageable materials, and consider professional restoration services for carpets. If replacement is required, choose water-resistant materials to reduce the risk of future damage.
5.3 Repainting and Finishing
Refresh the interior by repainting walls and ceilings. Choose moisture-resistant paint to prevent future water-related issues. Additionally, consider refinishing or replacing damaged trim, moldings, and other decorative elements to restore the aesthetic appeal of the space.
5.4 HVAC System Cleaning and Maintenance
Inspect and clean the HVAC (heating, ventilation, and air conditioning) system to remove any mold or contaminants. Replace air filters and ensure proper ventilation to maintain indoor air quality. Regular HVAC maintenance contributes to a healthy and comfortable living environment.
5.5 Restoring Personal Belongings
Return cleaned and disinfected personal belongings to their designated spaces. Prioritize items based on their significance and functionality. Consider implementing storage solutions and organizational measures to prevent future water damage to belongings.
6. Preventative Measures and Future Preparedness
6.1 Implementing Waterproofing Measures
To prevent future water damage, implement waterproofing measures. Seal cracks and gaps in the building envelope, apply waterproof coatings to vulnerable surfaces, and install drainage systems to redirect water away from the property. These measures contribute to the long-term resilience of the structure.
6.2 Regular Maintenance Checks
Establish a routine maintenance schedule to regularly inspect and maintain key systems in the property. This includes plumbing, roofing, and the HVAC system. Identifying and addressing potential issues early can prevent water damage and minimize the need for extensive restoration in the future.
6.3 Emergency Preparedness Planning
Develop a comprehensive emergency preparedness plan that includes specific protocols for water-related disasters. Ensure that all occupants are aware of evacuation routes, emergency contacts, and the location of essential utilities. Conduct regular drills to practice emergency procedures and enhance overall preparedness.
6.4 Upgrading Appliances and Fixtures
Consider upgrading to water-resistant or water-detection-equipped appliances and fixtures. Modernize plumbing systems and install leak detection devices to identify and mitigate potential water damage quickly. Investing in updated technology can provide an extra layer of protection against unforeseen water-related incidents.
6.5 Professional Inspections and Assessments
Engage professionals for periodic inspections and assessments of your property. Certified inspectors can identify potential vulnerabilities and provide recommendations for improvements. Regular professional assessments contribute to early detection of issues, ensuring timely intervention to prevent extensive damage.
7. Navigating Insurance Claims
7.1 Contacting Your Insurance Provider
Initiate the insurance claims process promptly by contacting your insurance provider. Provide detailed information about the water damage, including documentation, photographs, and a thorough inventory of damaged items. Follow the insurer’s guidelines for reporting the incident and filing a claim.
7.2 Understanding Coverage and Limitations
Review your insurance policy to understand the coverage and limitations related to water damage. Familiarize yourself with deductibles, coverage exclusions, and any specific requirements for filing a successful claim. Clarify any uncertainties by consulting with your insurance agent.
7.3 Documenting the Restoration Process for Claims
Maintain detailed records of the entire water restoration process, from the initial assessment to the final touches. This documentation serves as evidence for insurance claims and ensures that you receive fair compensation for the damages incurred. Include receipts, invoices, and communication with restoration professionals.
7.4 Coordinating with Restoration Professionals and Adjusters
Collaborate with restoration professionals and insurance adjusters throughout the claims process. Provide access to the property for assessments and inspections. Cooperate with their recommendations and ensure that all necessary information is shared to facilitate a smooth claims process.
7.5 Advocating for Fair Compensation
In the event of disputes or challenges with the insurance claim, advocate for fair compensation based on the documented evidence and the terms of your insurance policy. Communicate effectively with your insurance provider and seek legal advice if necessary to ensure a satisfactory resolution.
Conclusion
Follow this comprehensive guide to help you navigate each step of the restoration journey effectively. From the initial assessment to preventative measures and insurance claims, every aspect is addressed to help you reclaim your property and restore normalcy after the impact of water damage. Remember, with the right knowledge and a proactive approach, you can turn the tide and rebuild your space stronger than before. Water damage restoration process is a complex and multifaceted process that demands careful attention, prompt action, and strategic planning.
