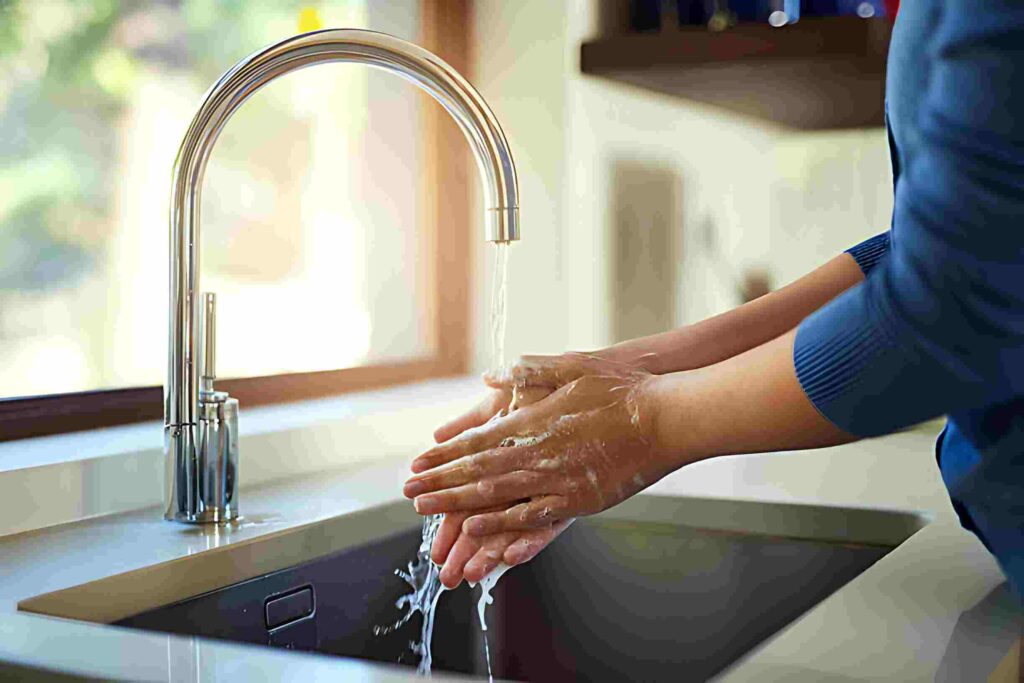
The kitchen sink emerges as a silent protagonist, steadfastly handling the remnants of our culinary escapades. Yet, beneath the veneer of this everyday fixture lurks a realm of unseen challenges—germs, bacteria, and residual odors that quietly compromise the heart of your kitchen. How often have we overlooked the importance of nurturing this integral space, allowing it to become not just a station for dishwashing, but a potential breeding ground for unseen threats? Let’s explore hot to properly clean and disinfect the kitchen sink. Though seemingly mundane task, you’ll come to realize that this is no ordinary cleaning routine. Prepare to witness your kitchen sink as more than a receptacle for dirty dishes, but as a canvas where the art of hygiene intertwines with the rhythm of your daily life.
We will unveil the secrets to not only achieve a pristine shine on your sink’s surface but to ensure that every nook and cranny is fortified against the silent invaders that threaten your kitchen’s sanctity. From essential cleaning supplies to expert techniques, we’re about to demystify the process, empowering you with the knowledge to turn your kitchen sink into a beacon of cleanliness.
The Basics of Kitchen Sink Cleaning
1.Gather Your Cleaning Arsenal
Before embarking on your kitchen sink cleaning journey, gather the following supplies:
- Dish soap: An effective grease and grime fighter.
- Baking soda: A versatile and gentle abrasive.
- White vinegar: Known for its disinfectant properties.
- Soft sponge or cloth: Non-abrasive to prevent scratches.
- Toothbrush or small brush: Ideal for hard-to-reach areas.
2. Clear the Clutter
Start by removing dishes, sponges, and any other items from the sink. This allows for better access and ensures a thorough cleaning process.
3. Pre-Rinse the Sink
Give your sink a quick rinse with warm water to remove loose debris and food particles. This initial rinse makes subsequent cleaning steps more effective.
4. Apply Dish Soap
Squirt a generous amount of dish soap onto a sponge or cloth. Thoroughly scrub the sink, paying special attention to the sides and bottom. This helps eliminate grease and general grime.
5. Utilize Baking Soda for Stubborn Stains
For tougher stains or lingering odors, sprinkle baking soda directly onto the sink surfaces. Scrub in a circular motion to lift stains and refresh the sink.
6. Tackle Faucet and Handles
Don’t forget about the faucet and handles! Use a toothbrush or small brush to get into the nooks and crannies. Wipe down with a cloth or sponge.
7. Rinse Thoroughly
Once you’ve scrubbed every inch, rinse the sink thoroughly with warm water. This ensures all cleaning agents are removed.
How to Disinfect for a Healthy Kitchen
White Vinegar Solution
White vinegar is a natural disinfectant. Mix equal parts water and white vinegar in a spray bottle. Liberally spritz the sink, focusing on high-touch areas.
Allow the Solution to Sit
Let the vinegar solution sit for at least five minutes. This dwell time maximizes its disinfecting power.
Revisit Stubborn Stains
If any stains persist, create a paste using baking soda and water. Apply the paste to the stains, let it sit for a few minutes, then scrub and rinse.
Consider Lemon for Freshness
For a citrusy burst of freshness, cut a lemon in half and use it to scrub the sink. The natural acidity helps break down grime while leaving a pleasant scent.
Disinfecting the Garbage Disposal
If your sink includes a garbage disposal, it requires special attention. Pour a mixture of ice cubes and salt down the disposal, followed by a stream of white vinegar. This not only cleans but also helps eliminate odors.
Final Rinse
After disinfecting, give the sink a final rinse with warm water to remove any residual cleaning agents.
Maintenance Tips for a Pristine Kitchen Sink
Regular Cleaning Schedule
Establish a routine for cleaning your kitchen sink. Aim for at least once a week, but more frequently if your sink sees heavy use.
Avoid Harsh Chemicals
Steer clear of harsh chemicals that can damage your sink and harm the environment. Stick to natural and eco-friendly cleaning solutions.
Microfiber Towels for Shine
For a gleaming finish, use microfiber towels to dry and polish the sink. This step adds that extra sparkle to your efforts.
Mind What Goes Down the Drain
Be mindful of what you let go down the drain. Avoid pouring grease, coffee grounds, and large food particles that can contribute to clogs and odors.
Invest in a Sink Mat
Consider placing a sink mat at the bottom of your sink. This helps protect the surface from scratches and dings caused by heavy pots and pans.
Conclusion
As we draw the curtains on this exploration into the meticulous world of properly cleaning and disinfecting the kitchen sink, it’s time to revel in the satisfaction of newfound knowledge. With each expert tip and diligent scrub, you’ve not only transformed a seemingly mundane household chore into a science of its own but have also elevated the role of your kitchen sink in your daily life. Now armed with the know-how to maintain a pristine and hygienic sink, you can take pride in the sanctuary you’ve created—a space where cleanliness harmonizes with functionality, and where the heart of your kitchen is as vibrant and healthy as the meals it witnesses.
So, rejoice in the empowerment that this journey has bestowed upon you. Your kitchen sink is no longer just a utilitarian necessity; it’s a symbol of your commitment to a thriving home environment. As you stand back and admire the gleaming results of your efforts, let the satisfaction of a job well done linger. You’ve not only gained insights into the nuances of kitchen hygiene but have also enriched your home with the promise of a cleaner, healthier, and happier space. Here’s to a sparkling kitchen sink and the joy of mastering the art of its proper care!


