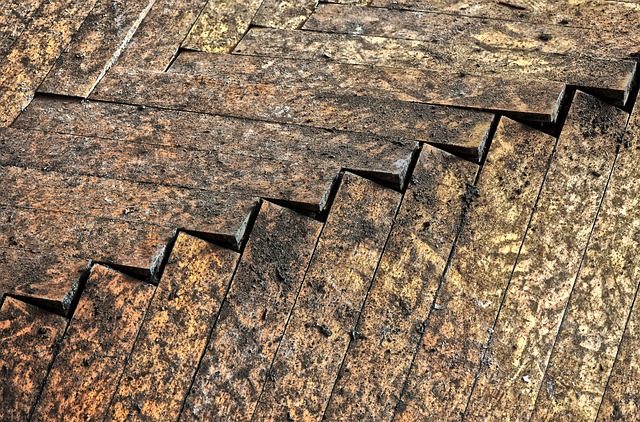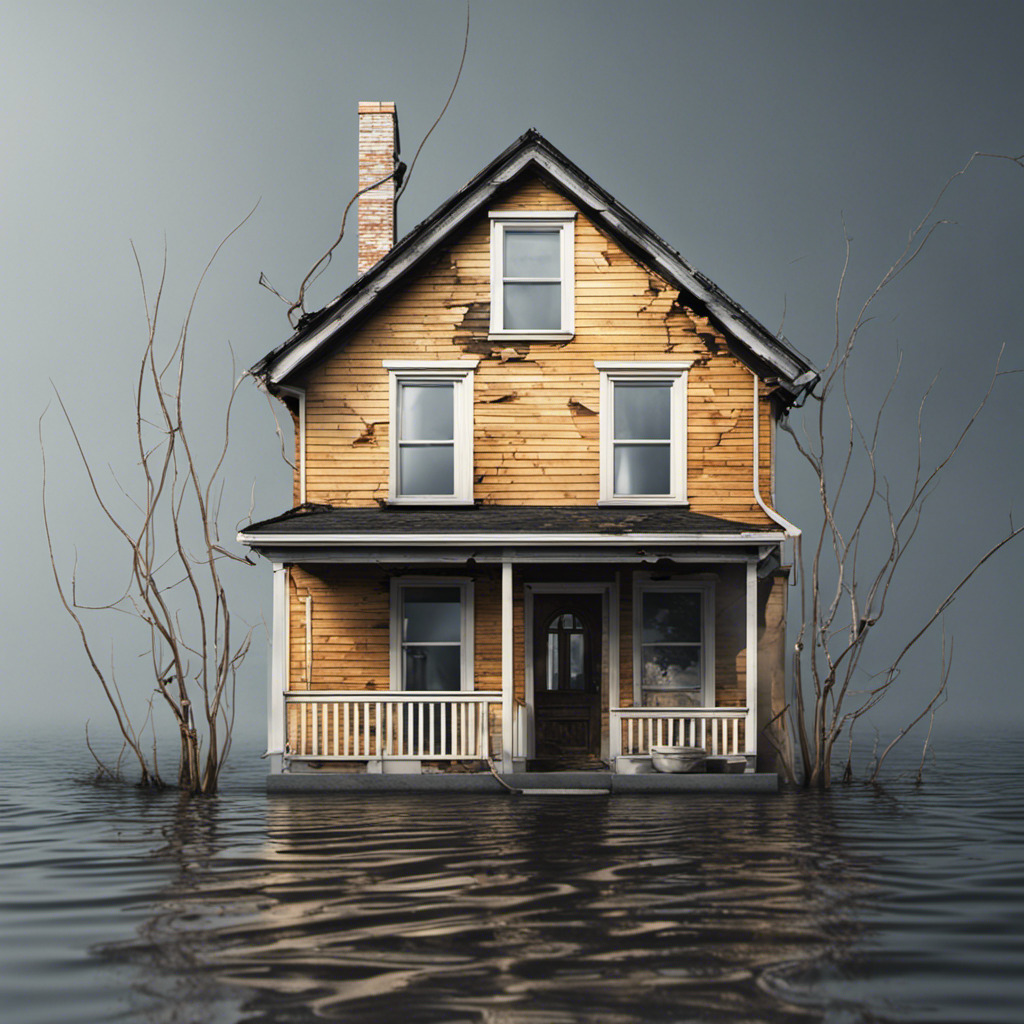
When you find water damage on your flooring, it is like having an unexpected downpour inside your house; it is an unpleasant surprise that needs to be dealt with quickly and efficiently. When that happens, this guide becomes your reliable friend, providing you with a road map to navigate the complex process of handling water damage restoration services like removing water-damaged flooring. Think of it as a reliable partner that turns what could seem like an overwhelming task into a doable and liberating do-it-yourself project. Together, we take on this journey, leading you through the complexities of evaluating, getting ready, and carrying out the removal of water-damaged flooring.
Think of your house as a canvas, and your flooring as the foundational brushstroke. When water seeps in and threatens this canvas, our guide becomes your restoration artist, helping you to gently remove the damaged layers and get the space ready for a fresh look. Whether it is laminate, hardwood, or carpet, the process is clear and methodical, making sure that every step—from determining the damage to getting rid of the materials—is carried out flawlessly. So, if your flooring has become soggy and distressed due to unexpected water damage, come along with us on this thorough investigation, and together, let us turn the tedious task of removing water damage flooring into a fulfilling experience of renewal and restoration.
Table of Contents
Identifying the Damage
Understanding the extent of the damage is the first step in this journey.
1.1 Assess the Flooring
Carefully inspect the affected flooring. Is it hardwood, laminate, vinyl, or carpet? Different materials may require unique removal approaches.
1.2 Check for Water Saturation
Determine the degree of water saturation in the flooring. Is it surface damage, or has the water penetrated deep into the material? This assessment guides the removal process.
1.3 Inspect Subflooring
Examine the subfloor beneath the damaged flooring. Ensure there’s no hidden water damage that may impact the structural integrity of the floor.
1.4 Look for Mold
Keep an eye out for mold growth. Moist environments provide a breeding ground for mold, and prompt removal is crucial to prevent further issues.
1.5 Confirm Source of Water
Identify and address the source of water. Whether it’s a leak, flood, or plumbing issue, resolving the root cause is essential before removing the damaged flooring.
Preparing the Workspace
Before diving into removal, prepare the area to ensure a smooth process.
2.1 Clear the Room
Remove furniture and belongings from the affected area. Clearing the space allows for easier access and minimizes potential damage to items.
2.2 Turn Off Utilities
If applicable, turn off utilities such as water and electricity in the affected area. This enhances safety during the removal process.
2.3 Ventilate the Space
Ensure proper ventilation by opening windows and doors. Fresh air aids in drying the area and reduces the risk of mold growth.
2.4 Gather Safety Equipment
Wear appropriate safety gear, including gloves, safety glasses, and a dust mask. This protects against potential hazards during the removal process.
2.5 Create a Disposal Plan
Plan for the disposal of removed flooring materials. Check local regulations and arrange for proper disposal or recycling, especially for materials that may contain harmful substances.
Removing Hard Surface Flooring
Different types of hard flooring require specific removal methods.
3.1 Lift Edges
Start by lifting the edges of the damaged flooring using a pry bar or putty knife. Work slowly to avoid splinters or breakage.
You should also read this Complete Guide to Cleaning and Maintaining Your Engineered Hardwood Floors
3.2 Use a Circular Saw
For hardwood or laminate flooring, use a circular saw to make straight cuts. This facilitates easier removal without causing additional damage.
3.3 Pry and Lift
Continue prying and lifting the flooring sections, working towards the center of the room. Apply steady pressure to release adhesive or nails.
3.4 Roll and Dispose
Roll the removed flooring for easy disposal. For materials like vinyl, it may come up in larger sections. Dispose of the flooring material responsibly.
3.5 Clean Subfloor
Thoroughly clean the subfloor of any remaining adhesive, nails, or debris. A clean subfloor ensures a smooth surface for new flooring installation.
Removing Carpet and Padding
Carpet removal involves specific steps to avoid unnecessary damage.
4.1 Cut and Roll
Cut the carpet into manageable sections and roll it up. This makes removal easier and prevents tearing.
4.2 Expose Tack Strips
Expose and remove tack strips along the edges of the room. Be cautious to avoid injuries from exposed nails.
4.3 Remove Padding
Take out the carpet padding, which is often the first to absorb water. Dispose of the padding properly, as it can harbor mold and odors.
4.4 Scrape Adhesive
Scrape off any adhesive left on the subfloor. A putty knife or floor scraper can be effective for this task.
4.5 Inspect and Clean Subfloor
Inspect the subfloor for any signs of water damage or mold. Clean and disinfect the subfloor before installing new flooring.
Addressing Subfloor Damage
Dealing with subfloor damage is crucial to ensure a stable foundation for new flooring.
5.1 Assess Subfloor Condition
Assess the condition of the subfloor for water damage or structural issues. Replace damaged sections to maintain a solid foundation.
5.2 Treat for Mold
If mold is present on the subfloor, treat it with an appropriate mold-killing solution. Ensure the subfloor is thoroughly dry before proceeding.
5.3 Reinforce Weak Areas
Reinforce any weakened areas of the subfloor to guarantee stability. This may involve adding additional support or replacing damaged sections.
5.4 Allow for Drying
Ensure the subfloor is completely dry before installing new flooring. Adequate drying prevents issues like mold growth beneath the new material.
5.5 Consult Professionals if Needed
If subfloor damage is extensive or if you’re uncertain about repairs, consider consulting professionals for a thorough assessment and necessary repairs.
Preparing for New Flooring
Before installing new flooring, take steps to prevent future water damage.
6.1 Address the Source
Ensure the source of water damage is fully resolved before installing new flooring. Fix leaks, improve drainage, or address any underlying issues.
6.2 Enhance Ventilation
Improve ventilation in the room to prevent moisture buildup. Good airflow reduces the risk of mold and extends the life of the new flooring.
6.3 Install Moisture Barriers
Consider installing moisture barriers, especially in areas prone to water issues. These barriers protect the new flooring from potential water intrusion.
6.4 Choose Water-Resistant Materials
Opt for water-resistant flooring materials, such as vinyl or tile, in areas susceptible to water damage. These materials are less prone to damage and mold growth.
6.5 Hire Professional Installers if Necessary
For complex flooring installations or if you’re unsure about the process, consider hiring professional installers. Their expertise ensures a quality and durable installation.
Disposing of Removed Materials
Proper disposal of removed flooring materials is essential for environmental and safety reasons.
7.1 Separate Materials
Separate different flooring materials for appropriate disposal. Some materials may be recyclable, while others require special handling.
7.2 Follow Local Regulations
Adhere to local regulations for the disposal of flooring materials. Check with local waste management authorities for guidelines on recycling or disposal.
7.3 Hire a Disposal Service if Needed
If the volume of removed materials is significant, consider hiring a disposal service. They can ensure proper disposal and recycling in compliance with local regulations.
7.4 Document Disposal
Keep records of the disposal process, including receipts or documentation from disposal services. This documentation may be useful for insurance claims or future reference.
7.5 Reflect on Eco-Friendly Options
Explore eco-friendly disposal options, such as recycling or repurposing materials where possible. Responsible disposal contributes to sustainability efforts.
Conclusion
While removing water-damaged flooring may seem like an overwhelming task, you can handle the process with the knowledge in this extensive guide. Each step is critical to a successful restoration, from determining the extent of the damage and setting up a workspace to taking care of subfloor problems and laying new flooring.
Sometimes you may need the professionalism of water damage restoration services to handle the tasks for you, don’t hesitate. After all, your home is a reflection of your comfort and well-being, so you can turn water-damaged spaces back into resilient and welcoming areas with the right approach.


