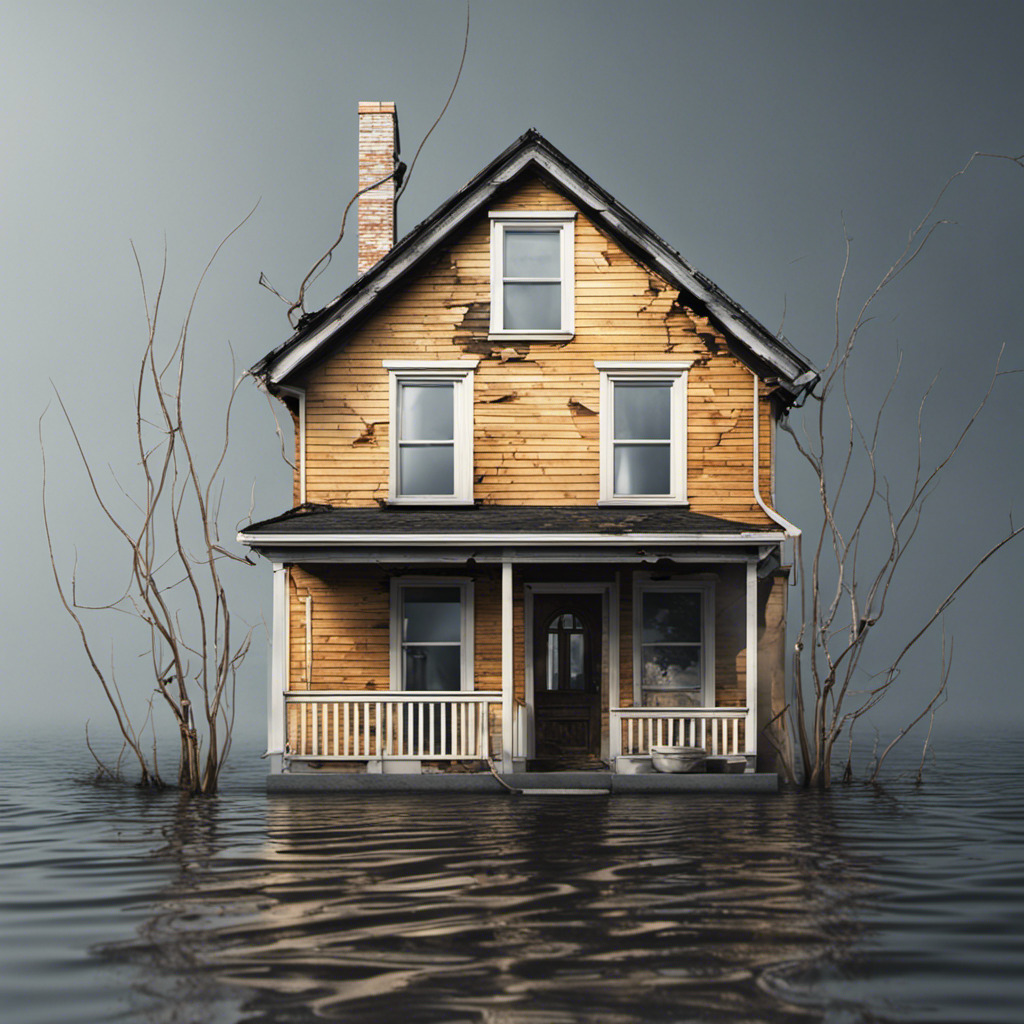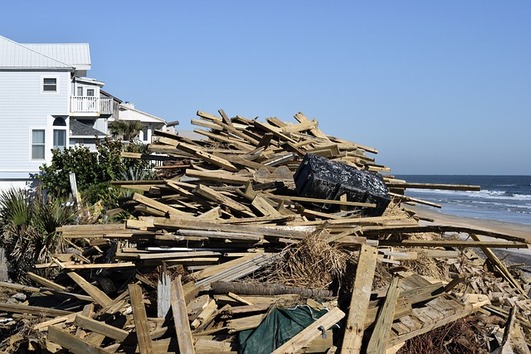
The everlasting beauty and adaptability of wood lend warmth and character to our homes, but when water damage occurs, the once-sturdy material can become a source of concern. Whether the damage is the result of flooding, a burst pipe, or a leaky roof, water-damaged wood requires immediate attention and careful restoration. In this comprehensive guide, we will dissect the craft of water-damaged wood repair, providing you with a step-by-step plan to restore your wooden surfaces. From identifying the different types of damage to looking at efficient repair methods, we will delve into the nuances of wood restoration, guaranteeing your beloved wooden elements regain their resilience and charm.
Let us start by understanding the nature of the problem before we take on the task of repairing water-damaged wood. Water damage to wood can take many different forms, and each one calls for a different restoration strategy. From the obvious symptoms of discoloration and warping to the less obvious but no less harmful effects like mold growth, water damage threatens the structural integrity and aesthetic appeal of wood. Now that we have this knowledge, we can examine the specific procedures for repairing water-damaged wood and restoring your beloved wooden surfaces.
See also our post on A Comprehensive Guide on How to Repair Water-Damaged Landscaping
How to Identify the Extent of Damage
1. Visual Inspection
Begin by conducting a thorough visual inspection of the water-damaged wood. Look for discoloration, warping, or any visible signs of mold. Understanding the extent of the damage is crucial for planning an effective repair strategy.
2. Moisture Measurement
Use a moisture meter to assess the level of moisture within the wood. Identifying lingering moisture is essential as it can contribute to further damage and provide an environment conducive to mold growth.
3. Probing the Wood
Gently probe the damaged wood with a screwdriver or similar tool. Soft spots or areas where the tool easily penetrates indicate severe damage. This step helps determine the structural integrity of the wood.
4. Checking Surrounding Areas
Extend your inspection to the surrounding areas. Check for signs of water damage on adjacent materials or hidden spaces. Addressing all affected areas is crucial for preventing future issues and ensuring a comprehensive restoration.
5. Understanding Mold Presence
Assess the presence of mold on the water-damaged wood. Mold not only affects the wood’s appearance but also poses health risks. If mold is detected, incorporate mold removal techniques into your repair plan.
Repairing Surface Damage
1. Sanding
Begin the surface repair by sanding the damaged wood. Use coarse-grit sandpaper to remove any finish or damaged layers. Gradually transition to finer grits for a smooth finish, paying attention to the edges and corners.
2. Wood Filler Application
Apply wood filler to fill gaps, cracks, and holes in the damaged wood. Select a high-quality wood filler that matches the color and grain of the wood for a seamless repair. Allow the filler to dry thoroughly.
3. Staining or Painting
Once the wood filler is dry, proceed to stain or paint the repaired area. Match the color and finish to the surrounding wood for a cohesive look. Applying a protective finish, such as varnish or sealant, adds an extra layer of defense.
4. Blending Techniques
Use blending techniques to seamlessly integrate the repaired area with the rest of the wood. Feather the edges of the repair to mimic the natural grain, ensuring a visually cohesive and inconspicuous restoration.
5. Polishing and Buffing
Polish and buff the repaired wood to enhance its sheen and smoothness. This step not only improves the aesthetic appeal but also provides additional protection to the repaired surface.
See also our post on How to Prevent Water Damage to Furniture: A Comprehensive Guide
How to Address Structural Damage
1. Wood Replacement
In cases of severe structural damage, consider replacing the affected wood. Remove the damaged section and install new wood, ensuring a secure and stable replacement.
2. Reinforcement Techniques
Reinforce weakened or compromised wood with appropriate techniques. This may involve adding support beams, braces, or other structural elements to ensure the long-term stability of the wood.
3. Ensuring Proper Drying
Ensure that the repaired or replaced wood is allowed to dry completely before finishing. Lingering moisture can lead to future issues, so patience in this phase is essential for a successful repair.
4. Preventing Future Water Exposure
Identify and address the source of water damage to prevent future issues. Whether it’s fixing a leaky roof, repairing plumbing, or improving drainage, eliminating the root cause is key to long-term wood preservation.
5. Periodic Inspection
Implement a routine for periodic inspections of the repaired wood. Regular checks can catch potential issues early on, allowing for timely intervention and preventing extensive damage.
How to Deal with Mold and Mildew
1. Mold Removal
If mold is present on the water-damaged wood, use appropriate mold removal techniques. Scrub the affected areas with a mixture of water and mild detergent. For extensive mold infestations, consult with professionals.
2. Bleaching for Stain Removal
To remove stubborn mold stains, consider using a diluted bleach solution. Test the solution on a small, inconspicuous area first and use caution to avoid damaging the wood.
3. Applying Anti-Mold Products
Apply anti-mold products to the repaired wood to prevent future mold growth. These products are available in various forms, including sprays and coatings, and create a protective barrier against mold and mildew.
4. Improving Ventilation
Enhance ventilation in the affected area to discourage mold and mildew growth. Proper airflow is essential for maintaining a dry environment and preventing the conditions conducive to mold development.
5. Humidity Control
Control indoor humidity levels to inhibit mold and mildew. Use dehumidifiers and air conditioning to maintain optimal humidity levels, especially in areas prone to water damage.
How to Choose the Right Tools and Materials
1. Wood Repair Kits
Invest in wood repair kits that include essential tools and materials for surface repairs. These kits often contain wood filler, sandpaper, and finishing products, simplifying the repair process.
2. Quality Sandpaper
Use quality sandpaper with varying grits for effective sanding. Coarse grits remove damaged layers, while finer grits create a smooth surface for finishing. Choosing the right sandpaper is crucial for achieving a professional result.
3. Wood Fillers and Epoxy Compounds
Select high-quality wood fillers and epoxy compounds for repairing gaps and structural damage. These products bond well with wood, providing durability and stability to the repaired areas.
4. Stains and Finishes
Choose stains and finishes that match the wood’s color and finish. Opt for products with protective qualities, such as UV resistance and water repellency, to enhance the longevity of the repair.
5. Protective Gear
Wear appropriate protective gear during the repair process. Safety glasses, gloves, and respiratory protection safeguard against potential hazards, ensuring a safe and comfortable repair experience.
Prevention and Long-Term Wood Care
1. Regular Maintenance
Adopt a routine for regular wood maintenance. Inspect wooden surfaces for signs of wear, damage, or vulnerability. Timely intervention can prevent minor issues from escalating.
2. Sealing and Waterproofing
Apply wood sealants and waterproofing products to protect wood from moisture. These products create a barrier that repels water, reducing the risk of water damage and enhancing the wood’s longevity.
3. Routine Cleaning
Clean wooden surfaces regularly to remove dust, debris, and potential contaminants. Routine cleaning not only preserves the wood’s appearance but also prevents the accumulation of moisture-absorbing particles.
4. Proactive Water Damage Prevention
Implement measures to prevent water damage proactively. Fix leaks promptly, ensure proper drainage around the house, and take precautions to protect wood in areas prone to water exposure.
5. Educating Others
Share your knowledge of wood repair and maintenance with others. Educating family members, friends, and neighbors on preventive measures contributes to the overall resilience of wooden structures.
See also our post on 15 Important Water Damage Restoration Tips
Conclusion
Repairing water-damaged wood is a meticulous process that requires a combination of skill, patience, and the right tools. Whether dealing with surface damage, structural issues, or mold and mildew, each step plays a crucial role in restoring the wood’s integrity and aesthetic appeal. Armed with an understanding of the types of damage, effective repair techniques, and preventive measures, you are equipped to breathe new life into water-damaged wood. As you embark on the journey of wood restoration, remember that each repaired surface tells a story of resilience and renewal, turning what was once damaged into a testament to the enduring beauty of wood.

